 Rammus
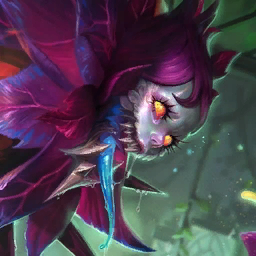 Fiddlesticks
 Veigar
 Teemo
Teemo


 KogMaw
 Kobuko
 RekSai


Early Units
KobukoVeigarTeemoRekSaiItem Priority
›››
Flex Units
RammusFiddlesticksKogMawPositioning Example
RammusFiddlesticksVeigarKobukoTeemoKogMawRekSaiTips
Best with Sprykin emblem and lots of copies of Teemo early. Sacrifice a 3* unit (ideally Kobuko) to give Rek'Sai big stats. Can also tank Rammus 3 if very rich / high rolling. Kog'maw provides free Shred / Sunder.
Stage 2
Open with a win streak Teemo start and itemize him ASAP. The more Teemo casts, the more likely you can collect value off his mushrooms.
Stage 3
Level to 6 and roll for your 2* upgrades to stabilize and win streak Stage 3. Econ up and slow roll above 50g for 3*.
Stage 4
Finish Teemo 3* and your tank then push levels for more Sprykins. Cap the board with Gnar or another 5 cost.